
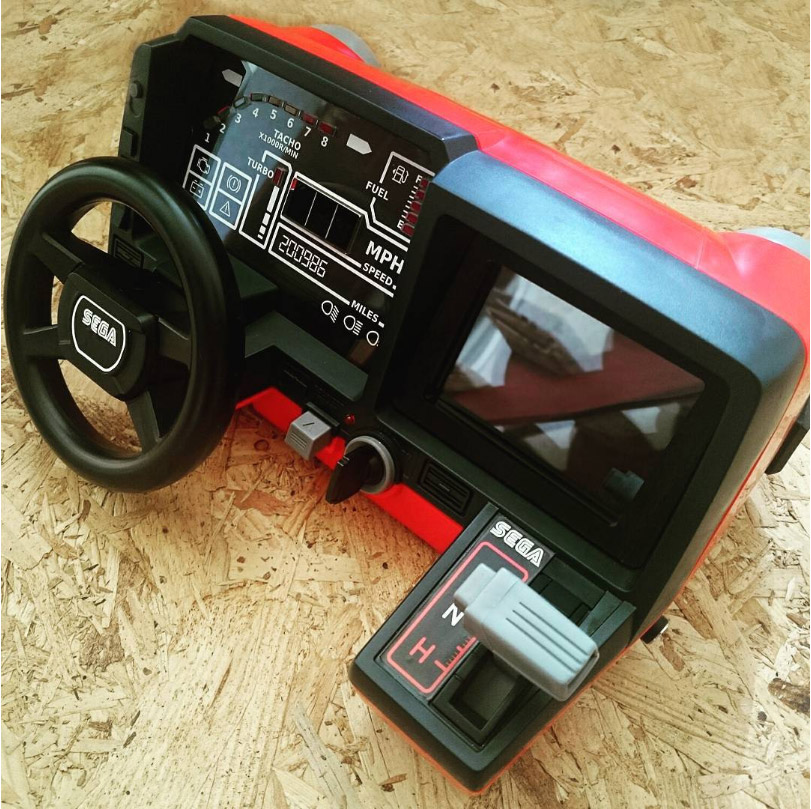
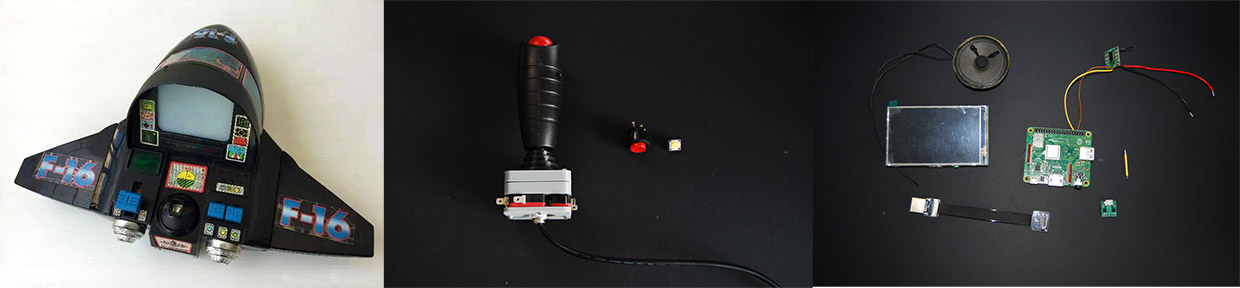
You certainly saw the Tomy RaceCab, an arcade version of the Tomy Racing Turbo toy dedicated to racing games. It gaves me an idea, why not doing the same for air combat simulation ! Fortunatly, some jet fighter cockpit toys where made by Tomy and others. I just needed to put some Recalbox in it to create a Jet fighter simulator ! You can see it in action here.
COMPONENTS_
Roughly for this project, I needed :
- – A jet fighter cockpit toy such as “Sky Commander”
- – An arcade joystick looking like those you can find on Jet Fighters
- – A Sanwa SDM-18 push button
- – A tactile push button
- – A Raspberry Pi 3A+
- – A 4″ 800×480 HDMI TFT screen
- – A Flat HDMI ribbon
- – A PAM 8403
- – A speaker
- – A cob LED
- – A female Micro USB connector
- – A switch
3D PRINTS_
For this project I needed to adapt some stuff.
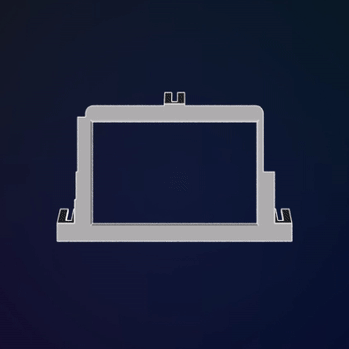
First : The screen. The original screen was an opaque filter fixed by 3 screws. I had to adapt the frame to be able to install the TFT.
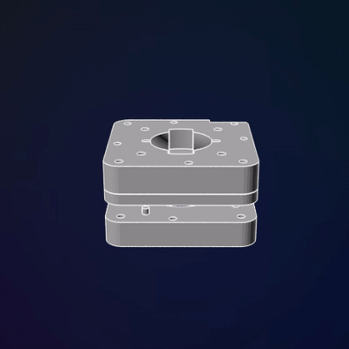
Second : Joystick. The original base from the stick was way too large to fit into the case. I wanted to keep the original PCB, which was installed under the control plate. So I had to build a new base, smaller than the original in 3 parts to fit into the toy, without damaging the control plate.
Then I’ve changed the microswitches to have a better sensibility for the controls.
This is the gusset. Not essential but more aesthetic. I’ve printed it with NinjaFlex for it to deform while using the controls.
Then I printed some random RPI3 A+ case to maintain the PI into the toy.

ELECTRONICS_
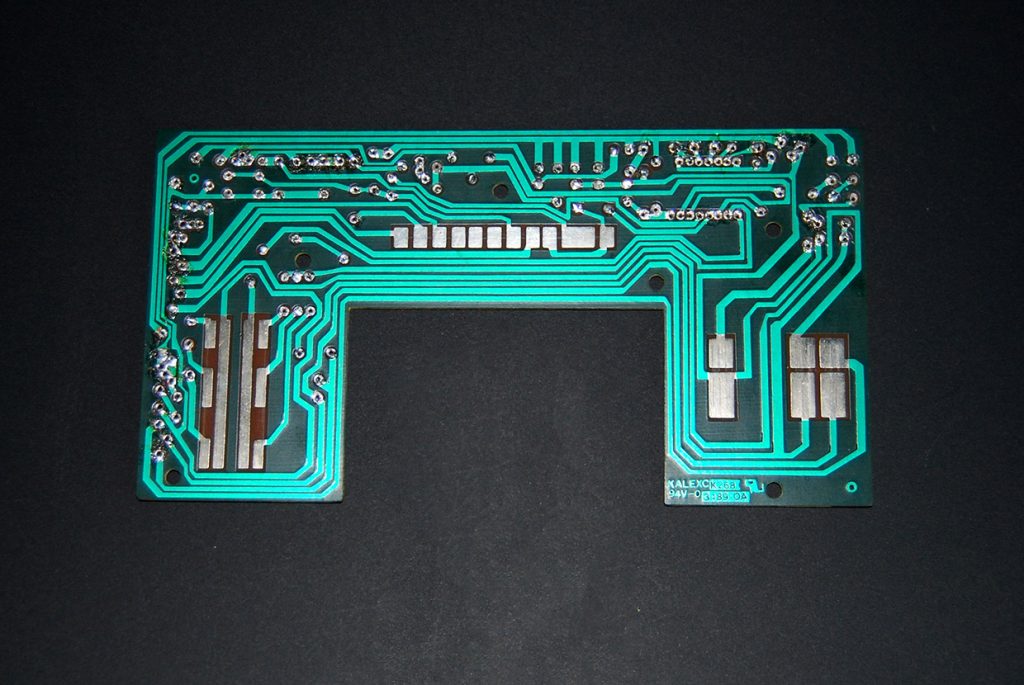
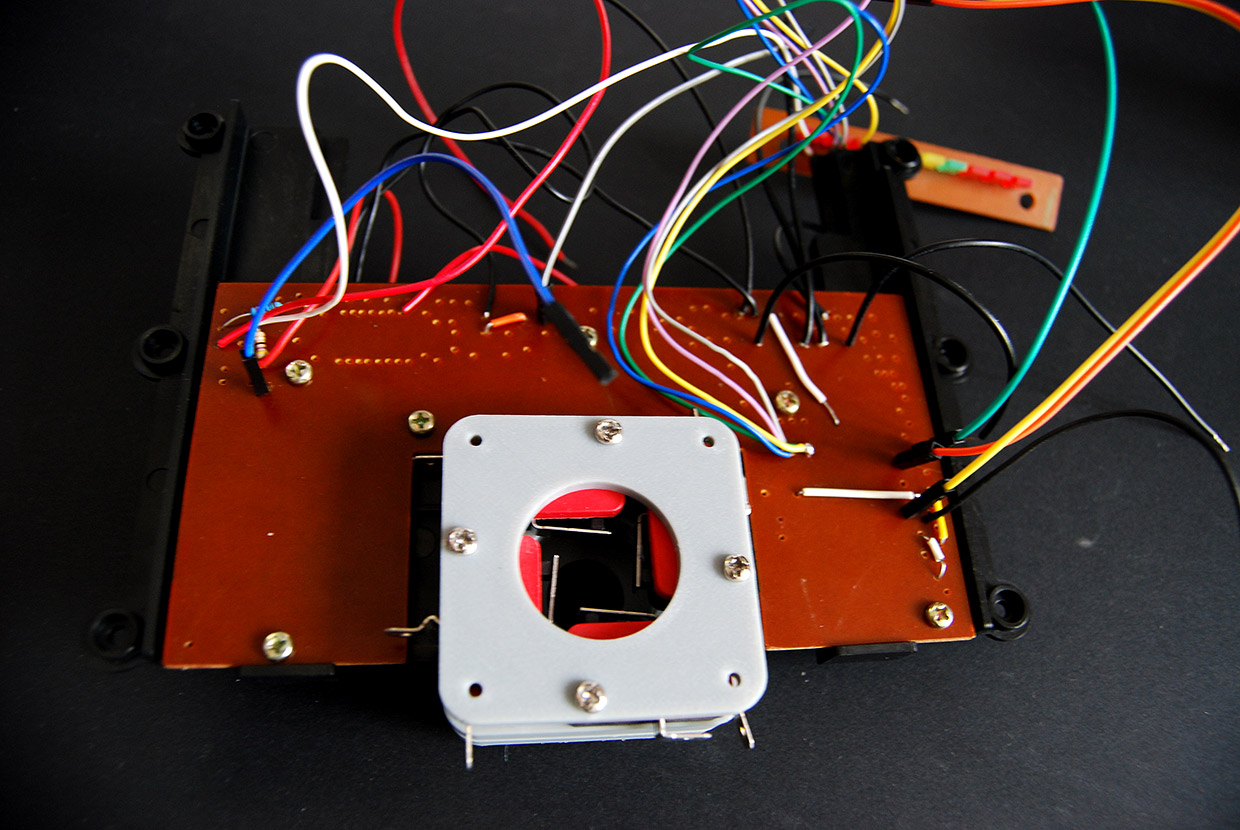
This toy has a bit of electronics, plays sounds , have several LEDS that reacts to controls. My goal was to keep the most of original functions. So I had to grab the original PCB and see what I could do with.
First step was desoldering all components. Not an easy part because there was a lot of components.
In fact there was 2 PCBs, this one, on the picture, and another small one with 7 LEDs, on which I had to desolder everything, except the LEDs.
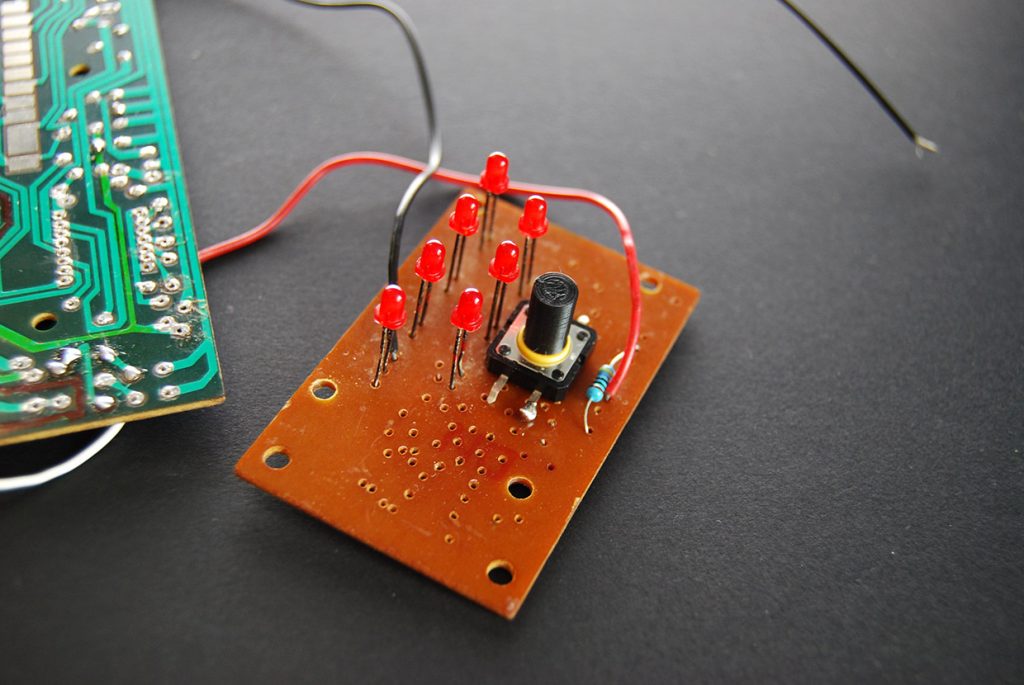
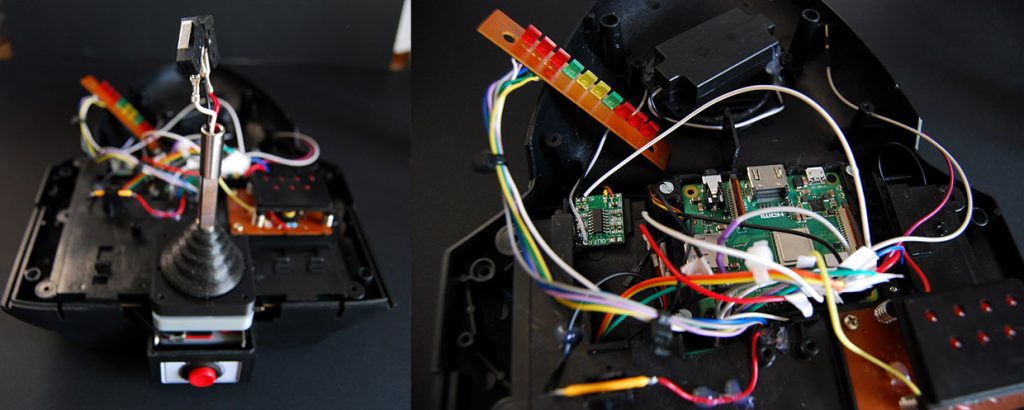
This is the second PCB, with 7 LEDS. I add the tactil push button which will be used as START button.
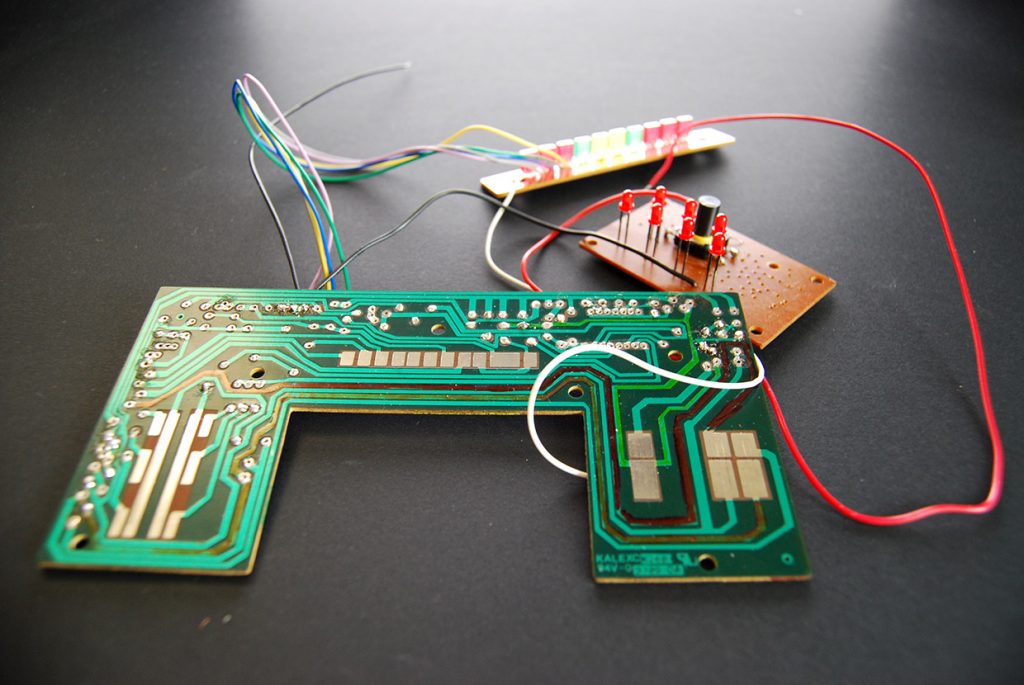
Then I had to re-route the electronics. The goal was to distribute 5V to all the LEDS. I use the original PCB to have a common ground for all the controls.
THE BUILD_
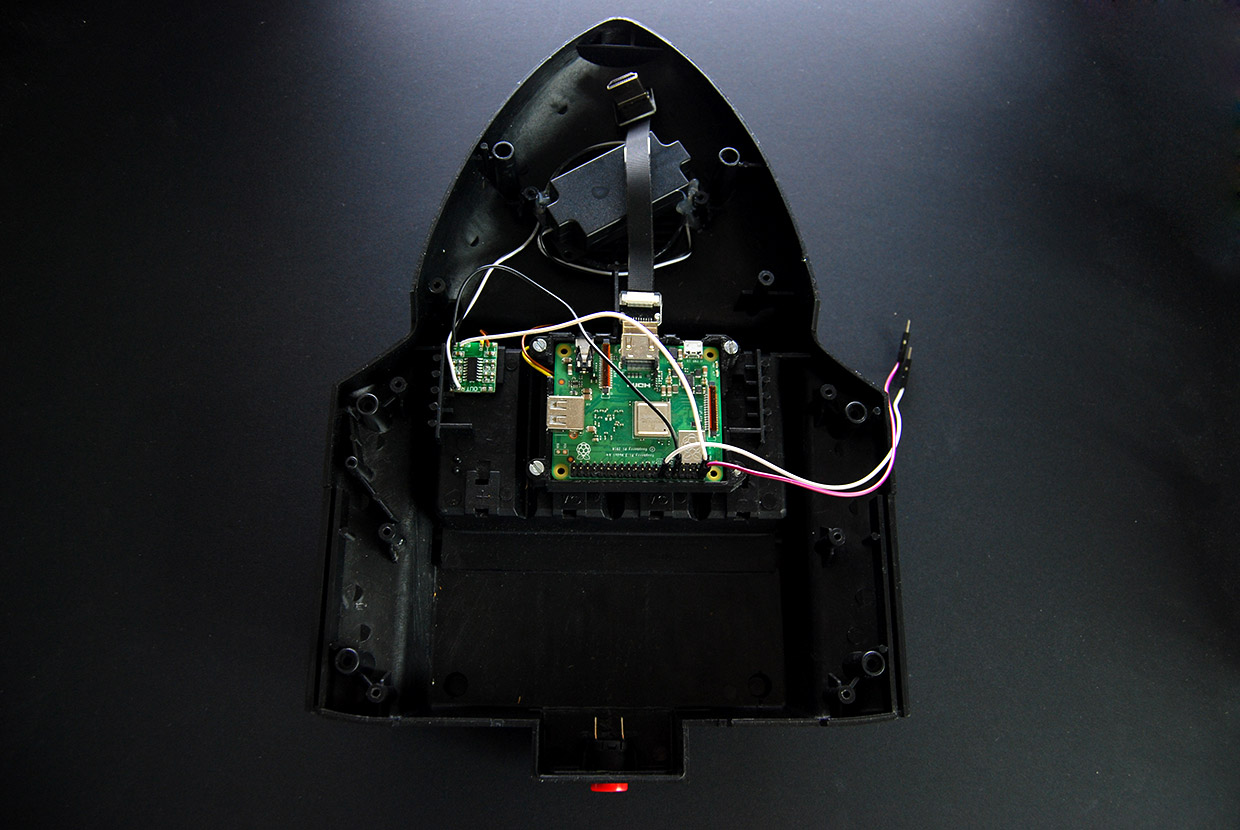
I began the build by installing the PI and the PAM8403. I also installed the speaker, as you can see I’ve changed the speaker because the original one had a very crappy sound. The I’ve used a basic RPI speaker. I’ve directly soldered the PAM8403 to the PI, audio to PP26 and ground to PP6, to power it, I’ve plugged it on the 3.3V pin from the PI.
For the screen, I’ve used 2 Duponts, one to 5V pin and one to ground. At the same time, I install the Sanwa button, which will be used as SELECT/HOTKEY.
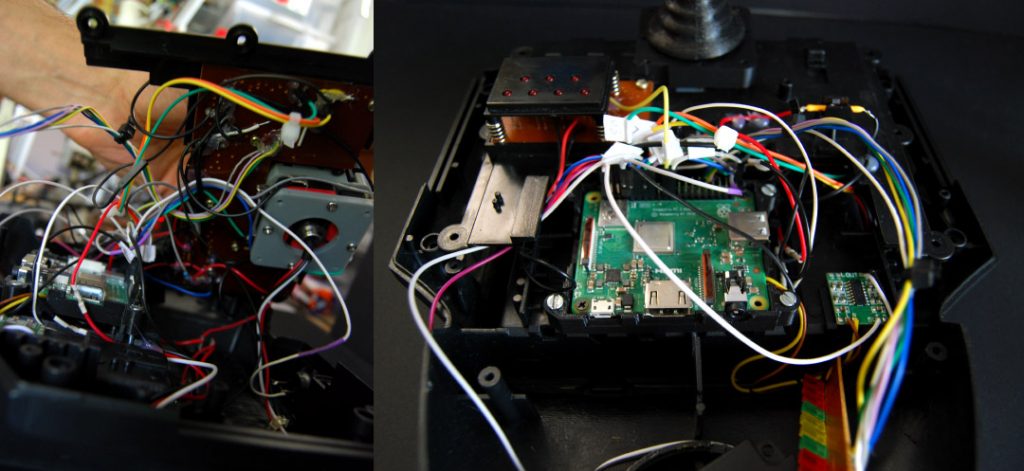
It’s now time to mount the joystick.
The stick bloc was made in 3 parts, one for the joystick “ball” which will go on the upper side of the control plate, another which will go just under the plate, and the thinner one which will be user to maintain the microswitches. Once done, I can insert the metal stick and the gusset.
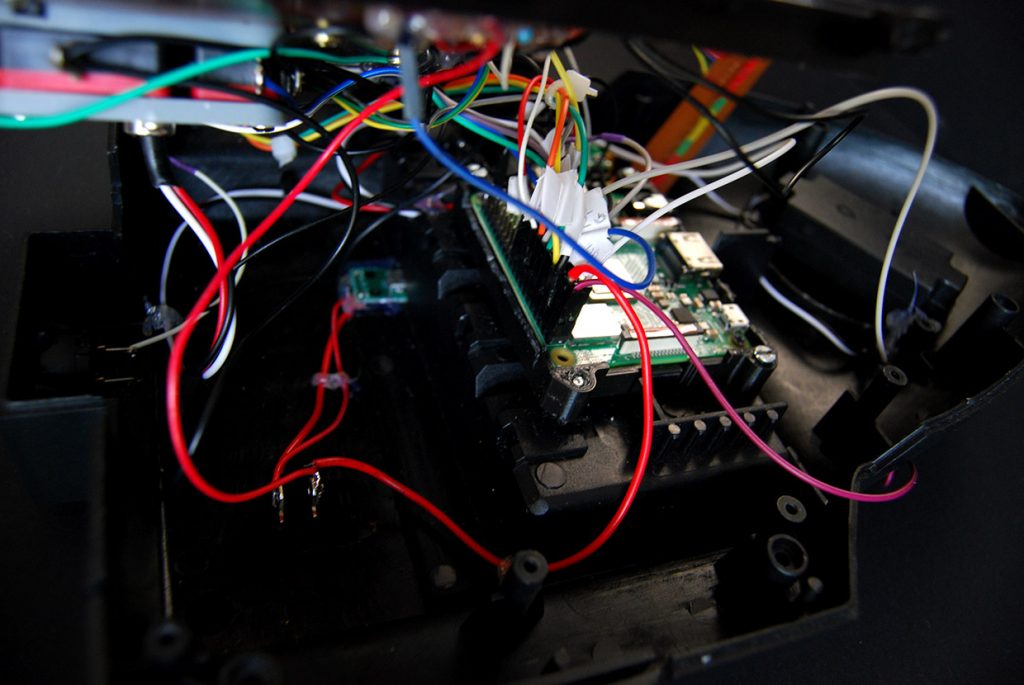
Now I wire everything and install the control plate.
The wiring is pretty classic, for this project, I have 8 boutons and 4 directions. I’ll plug the LEDs on GPIO 5V pin.
Following this, I’ve installed the micro-USB connector and the power switch.
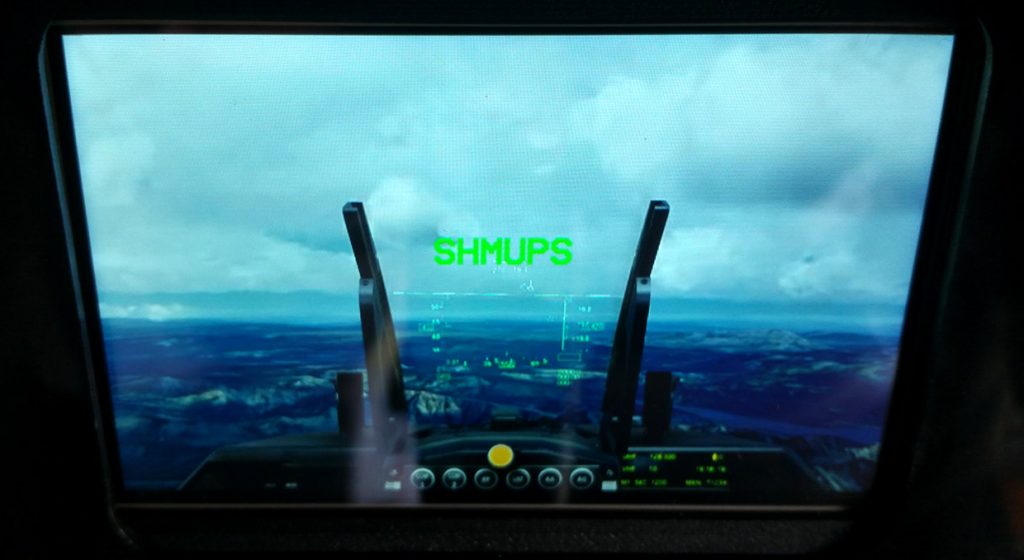
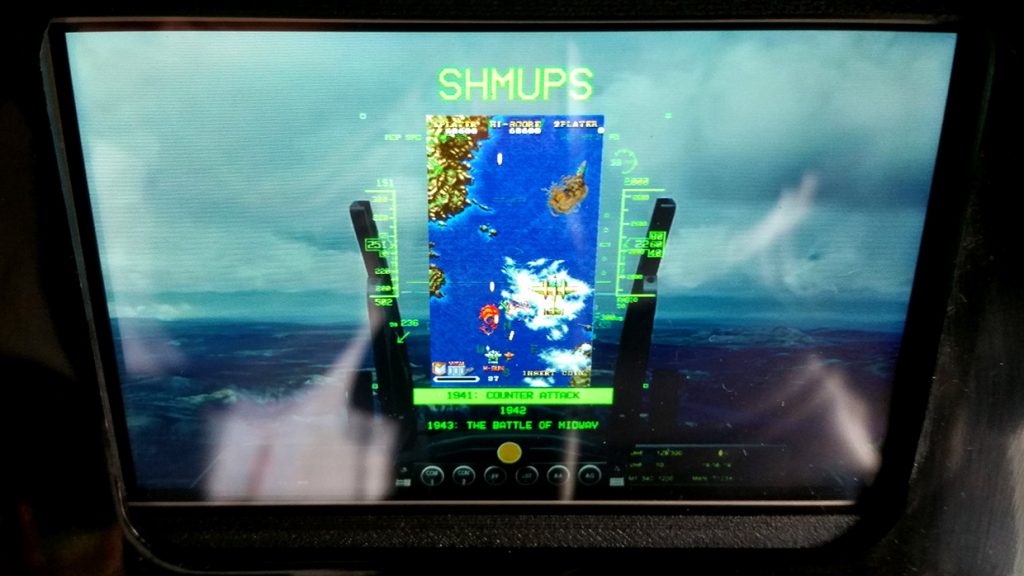
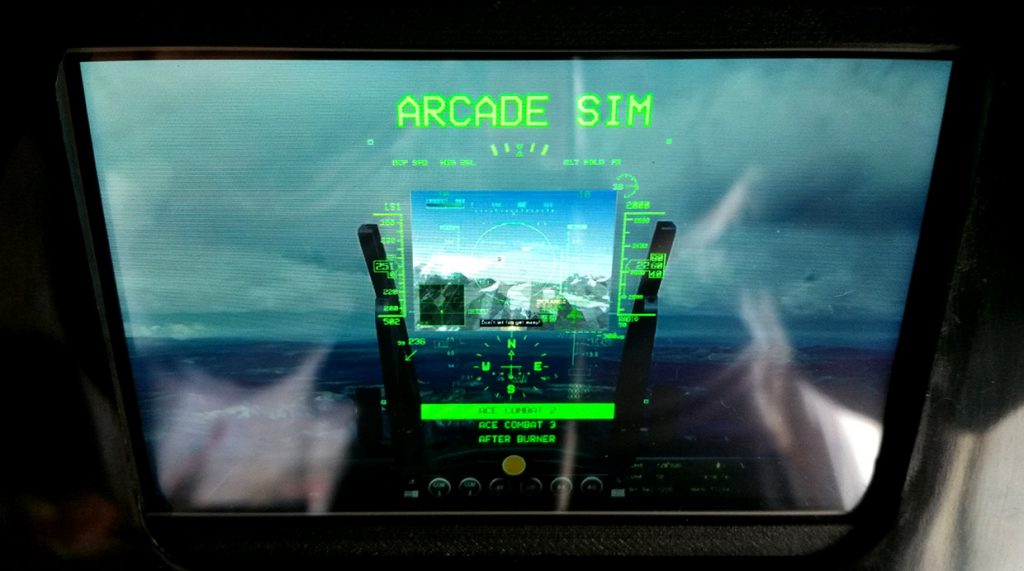
With no surprise, I use Recalbox for the system. I made a custom theme to look like a cockpit. There are 2 folders – SHMUPS and ARCADE SIM – on each folder, I also modified the theme to make it looking like everything is displayed on the HUD.
I’ve made an video intro to get a good finish, which was made with After Effects.

Then I’ve made custom stickers to get a “cool” looking. I got the inspiration from a real F-16 cockpit.

CONCLUSION_
That was a very interesting projet, with a good reflection on how to setup the electronics. The main challenge was to get the result as close as the original toy. This project is realy fun to play with, and got a really immersive feeling. A lot of fun making it !
I hope this B_log was useful, it’s now time to say :