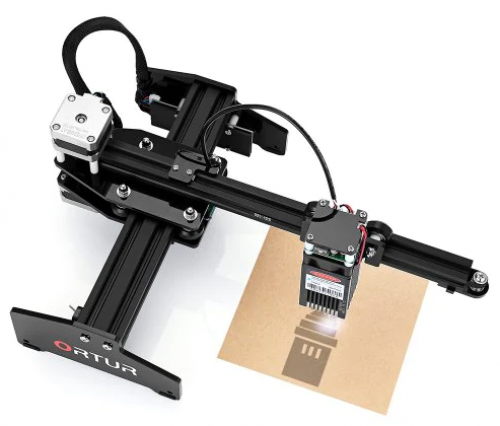
I just got the 7W Ortur laser. Well, 7W are big words, because this is for the consumption, not the engraving power … It seems to be around 2000mW … or how to play with words to make sales …

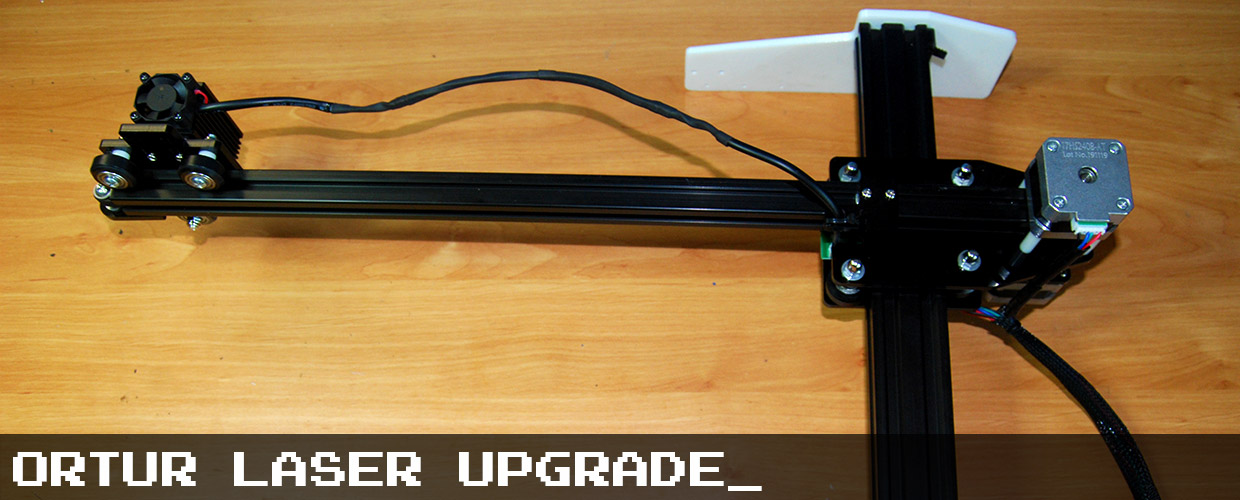
The frame_
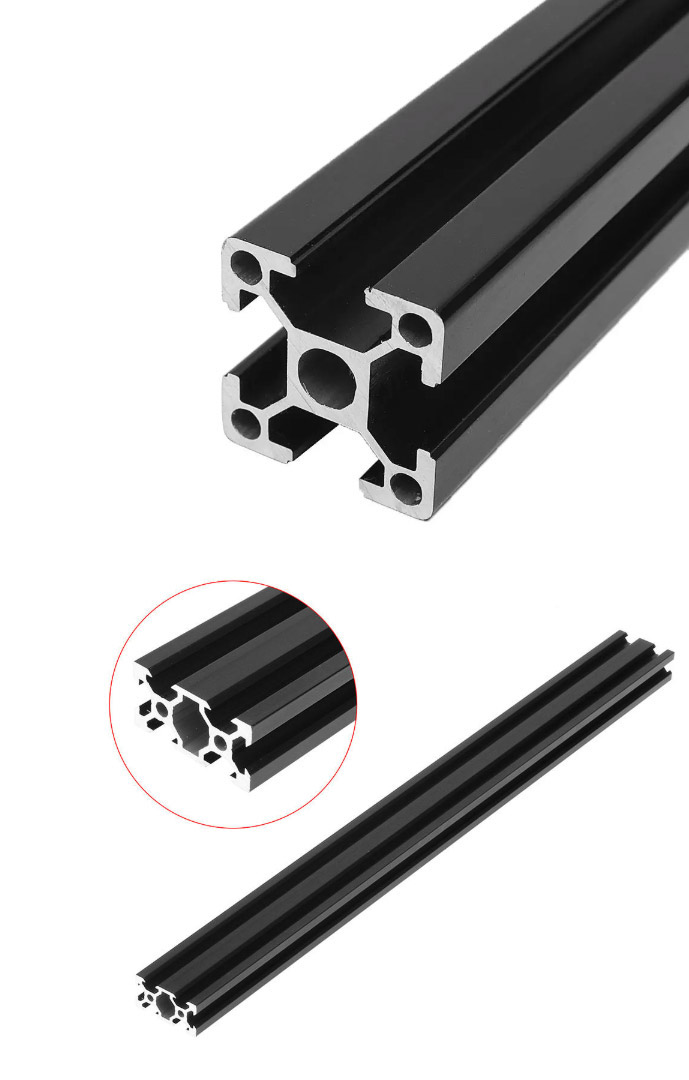
First thing to do is changing the frame, fortunately, this is a pretty simple frame, which will define the working area. And it’s made with aluminium profiles 40*20 and 20*20. Pretty handy, these are the ones you can find on most of chinese 3D printers. So go shopping at “bangalibest” and here it is ! For my project, I bought one 40cm long 40*20 profile and one 50cm long 20*20 profile.
The laser is mounted on the 20*20, the 40*20 carries the steppers.
The hard thing was to tap the threads for the supports. I don’t know if tapping threads by hand is hard or that’s because I’m a noob but I had hard times to do it. It works but the thread is not perfect.
I’m making a second version that doesn’t need tapping threads, it will use V-slots to make it waaaaay easier.
Supports_
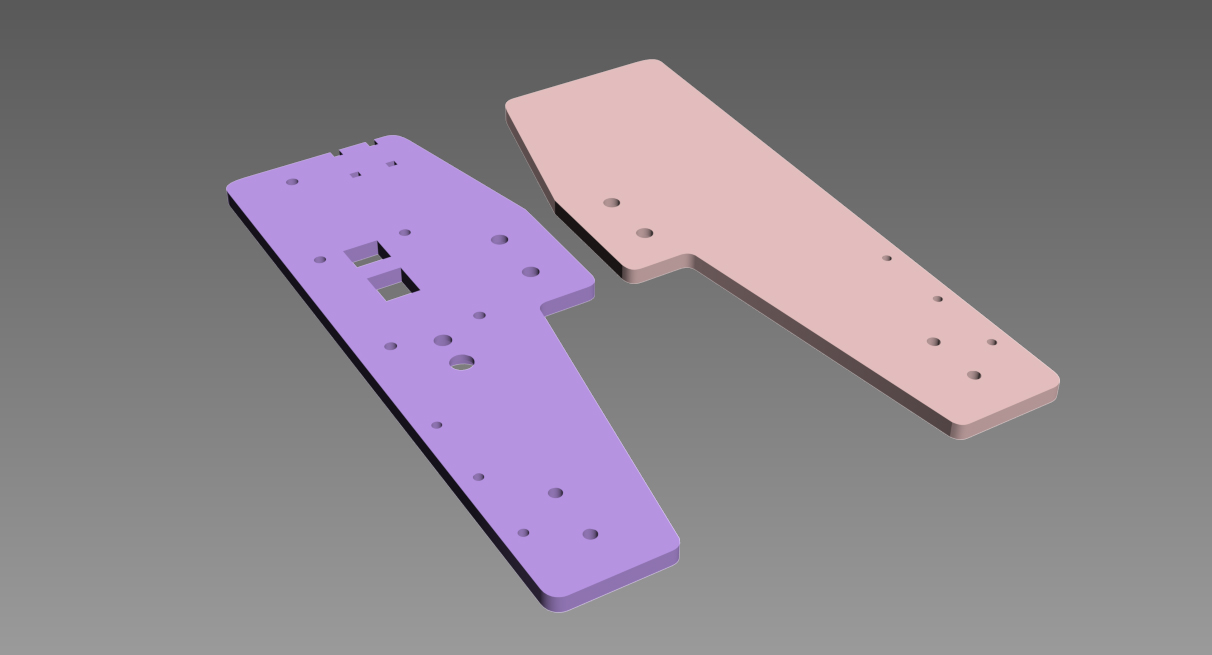
I modeled those supports to print them. To make it simpler I scanned them with my desktop scanner/printer. Pretty handy. Once they were scanned I vectorized them, then extruded. I needed to make them bigger to avoid balancing while the new frame is much bigger.
Here is the STL .
As I mentionned, a second version is on the way to avoid thread tapping.
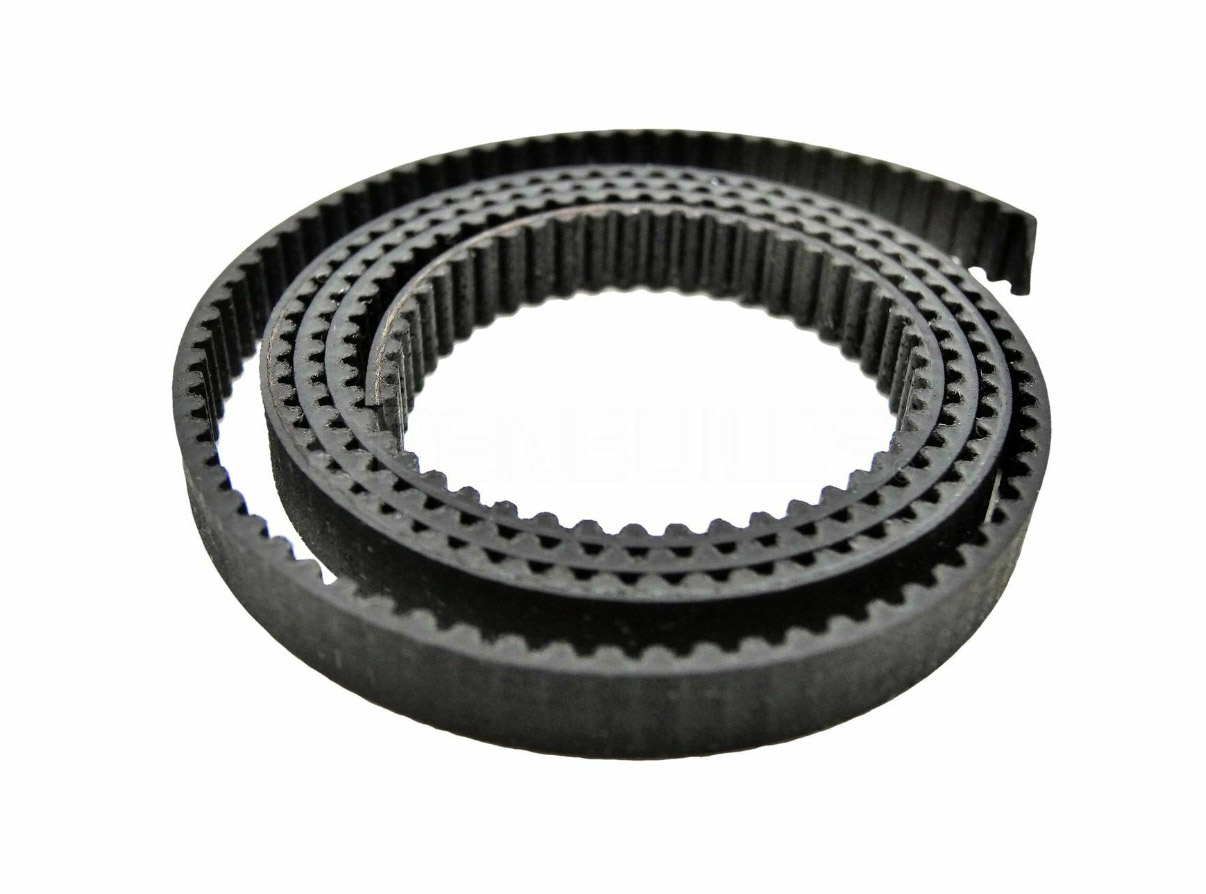
Belt_
It uses a GT2 Belt. This is the belt you will find on every chinese printer, so you will easily find them at “bangalibest”. For this project I bought 2m, just to be sure I don’t miss some. To connect the ends, I found the perfect clip on Thingiverse.
You have to be careful with the tension of the belt, like 3D printers , it has to be not too tight, not too loose. That said, I still have some issues during the travel, as it goes too fast, It makes a maximum tension and make it stop.
To fix this, you just have to change parameters on GRBL. I’ll explain this later and it works perfectly.
CABLES_
There is not much things to say about the cables, you’ll just have to make them longer for them to go to the end. So work on the cables from the main board to the steppers and from the steppers to the laser. Try not to make them too long or they will be stuck everywhere.
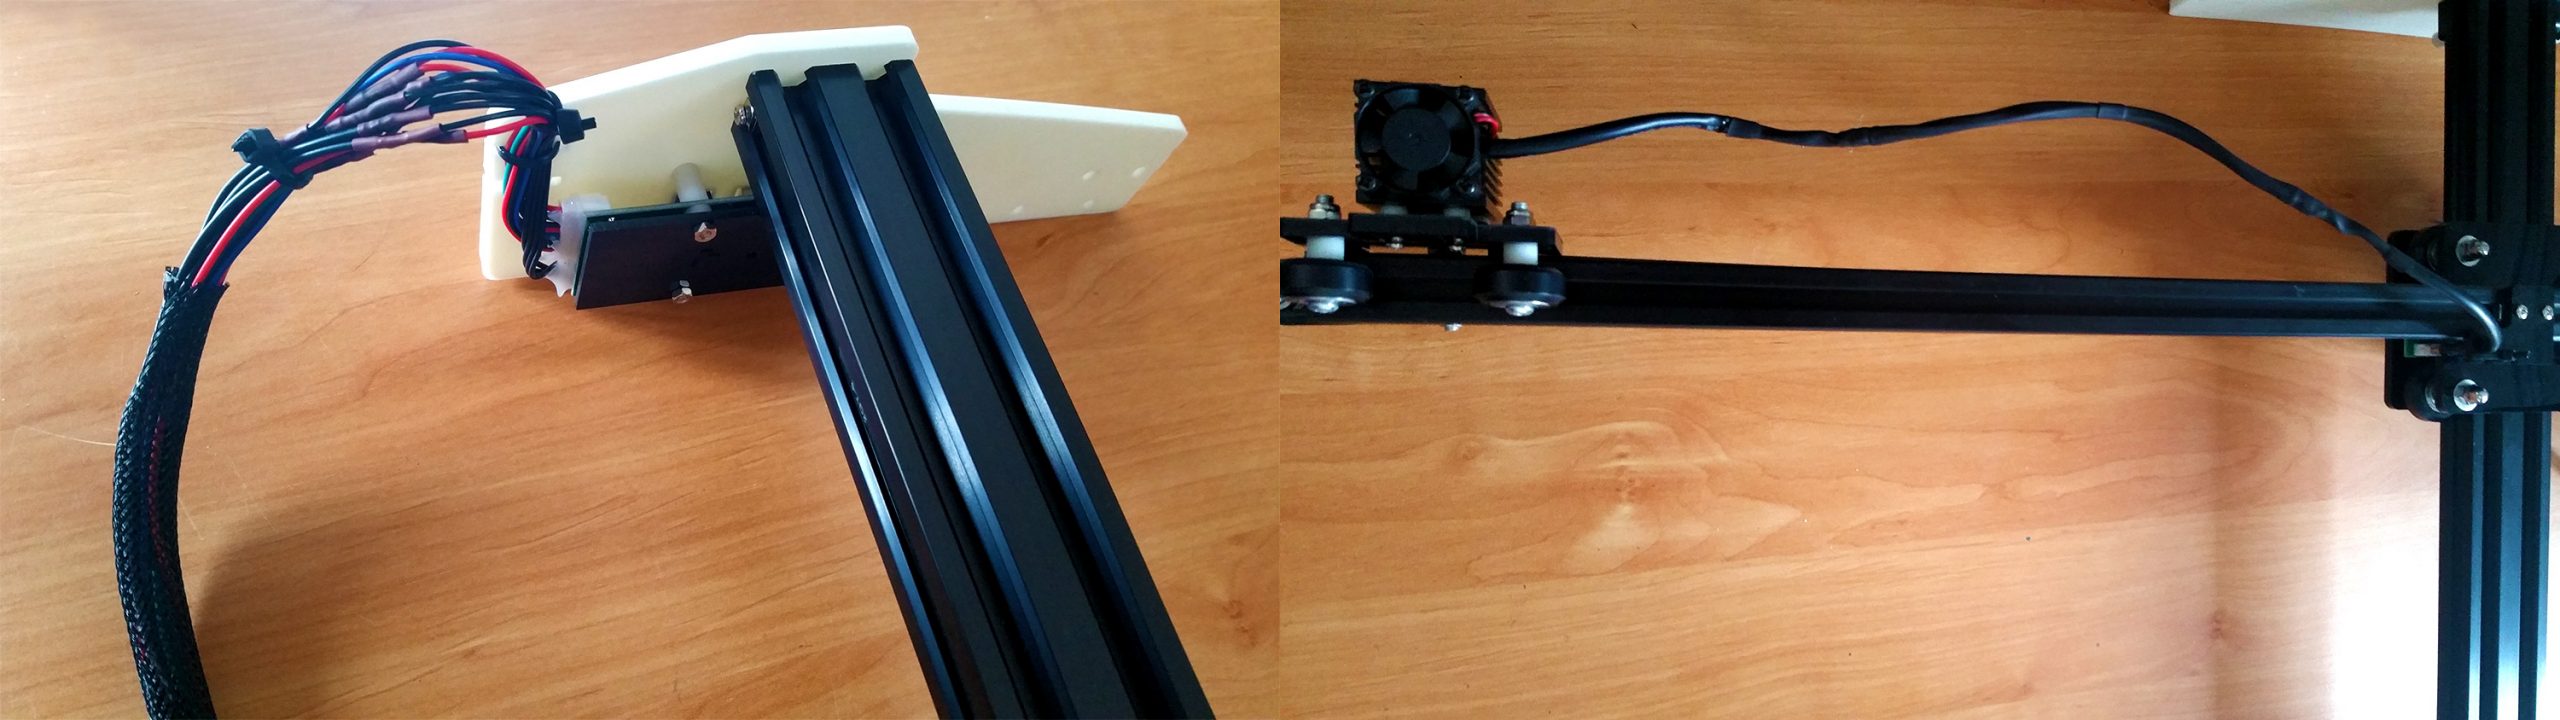
Beware not to cut all the cables at the same time at risks to solder back to the wrong place, I’ve cut one cable of each color, soldered them, and cut back one of each color again, etc.
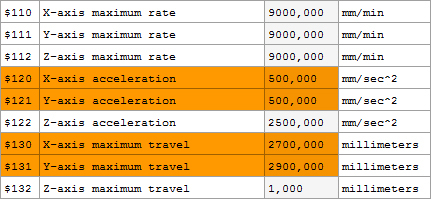
GRBL_
Once you’ve put everything back together, you’ll have to setup GRBL. First, because the machin size has changed so it’s working area, then the tension belt on X axis could be an issue when the stepper accelerate.
So you have to change the values from $120 and $121 to reduce acceleration to 500, try other values to match to your setup. Then the values $130 et $131 that defines your new working area.
Try to leave some cm/mm to the size of your 4020 and 2020 profils to leave room to the endstops.
Don’t forget to modify your custom buttons !
CONCLUSION_
This is a pretty simple an handy upgrade to do to your Laser. The Ortur laser is a good laser for hobby, with 7W, you will be able to engrave some wood, acrylic, leather and anodised aluminium. For cutting, I don’t think you can cut anything else than wood. You can forget it to cut more than 3mm, with multiple passes.
I hope this Log_ was helpful, feel free to visit me on facebook, or on youtube !