

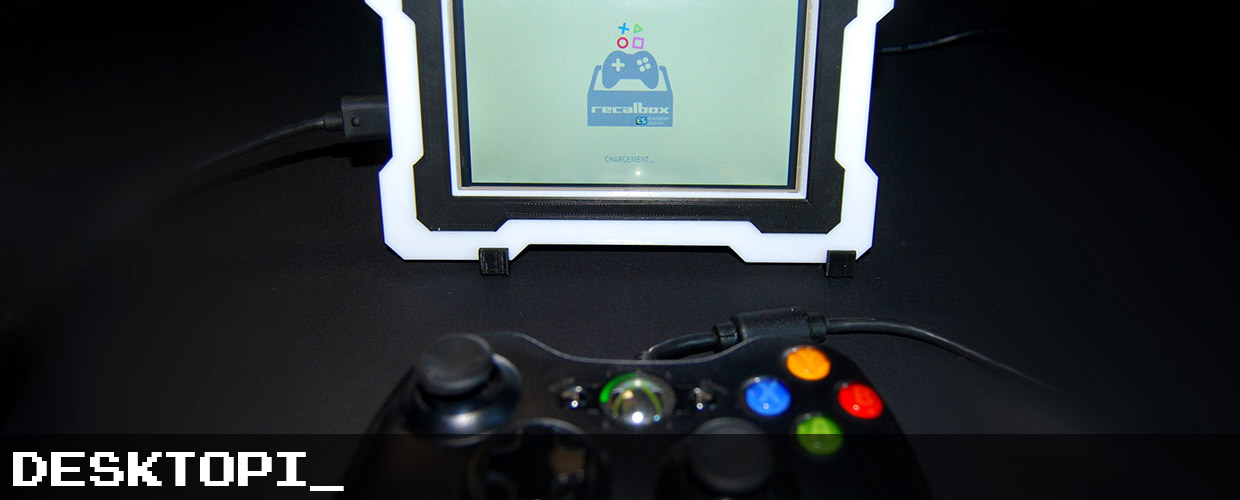
As I am kind of active on Recalbox community, I needed a small setup that fits on my desk to be able to make some tests to answer questions. So I decided to build a “desktop” Recalbox.

HARDWARE_
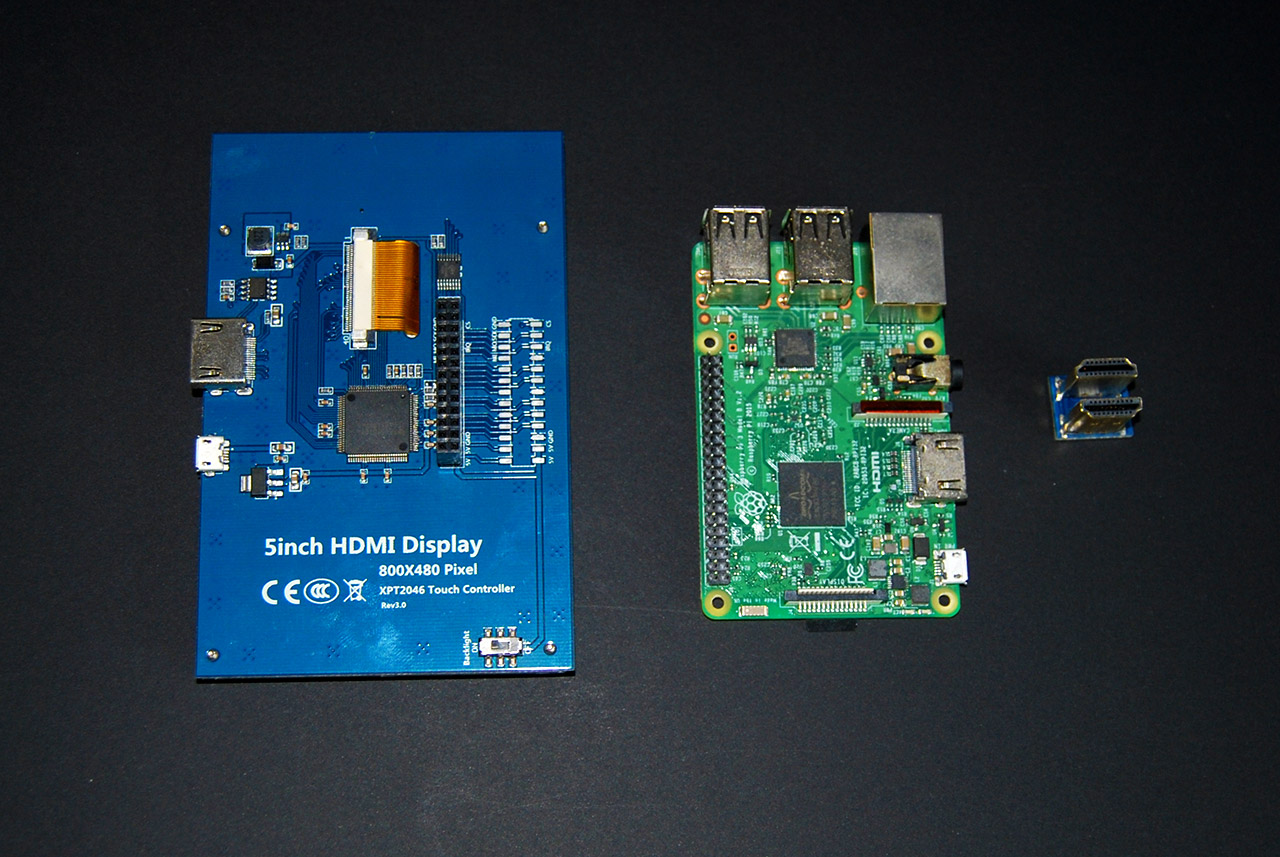
The hardware is pretty simple :
- – A raspberry Pi3B
- – A 5 inch HDMI 800×480 screen
- – HDMI connector
- – Some small screws
3D PRINTED PARTS_
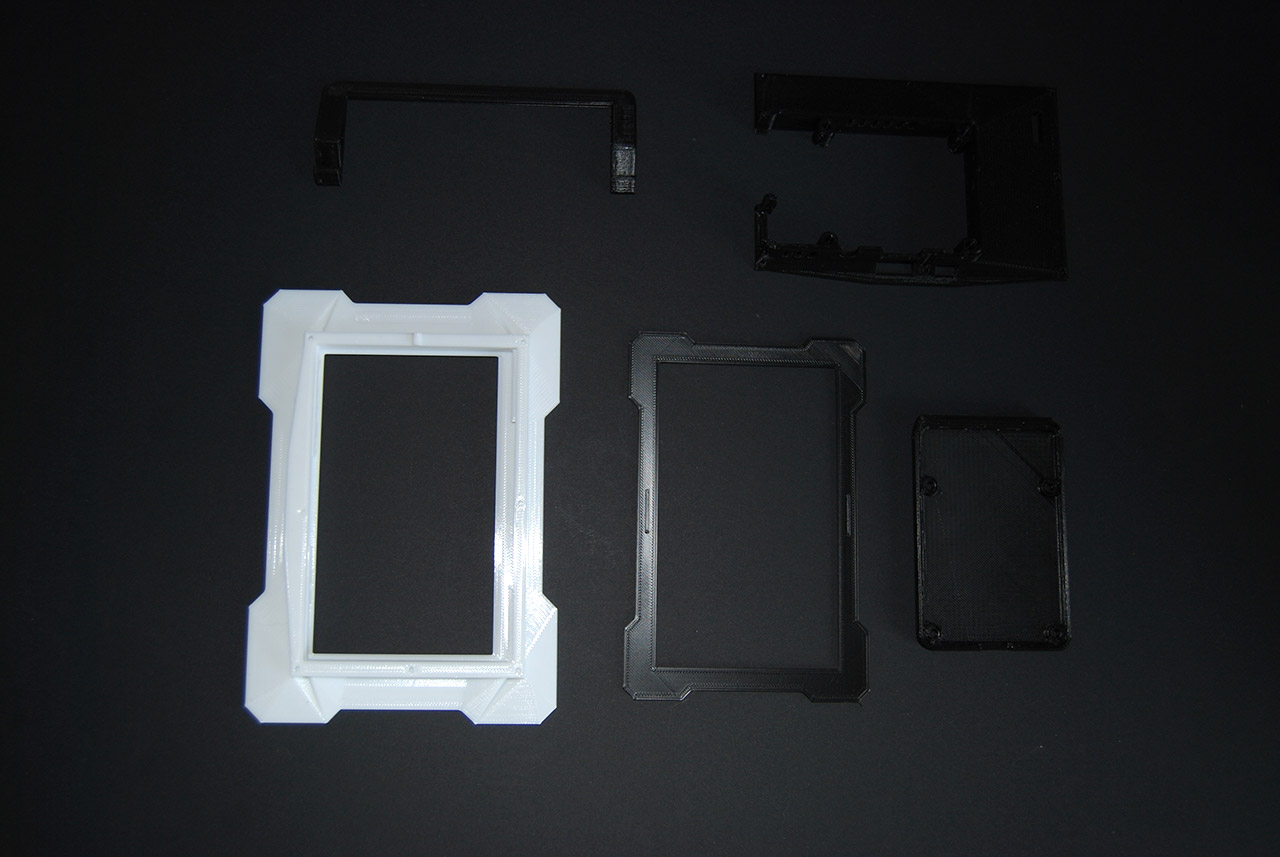
The frame is made up of :
- – 2 pieces for the frame
- – 2 pieces for the case
- – 1 piece for the support
You can find the STL here.
These STLs are FREE ! But you can help me buying materials to make more stuff here !
CONFIGURATION_
To get the screen to work correctly, you’ll have to change some lines on the config.txt.
You can open a terminal and type : sudo nano /boot/config.txt or connect in SSH via putty to modify the file directly.
Then you’ll have to change the following lines :
disable_overscan=0
# uncomment to force a specific HDMI mode (this will force VGA)
hdmi_group=2
hdmi_mode=1
hdmi_mode=87
hdmi_cvt=800 480 60 6 0 0 0
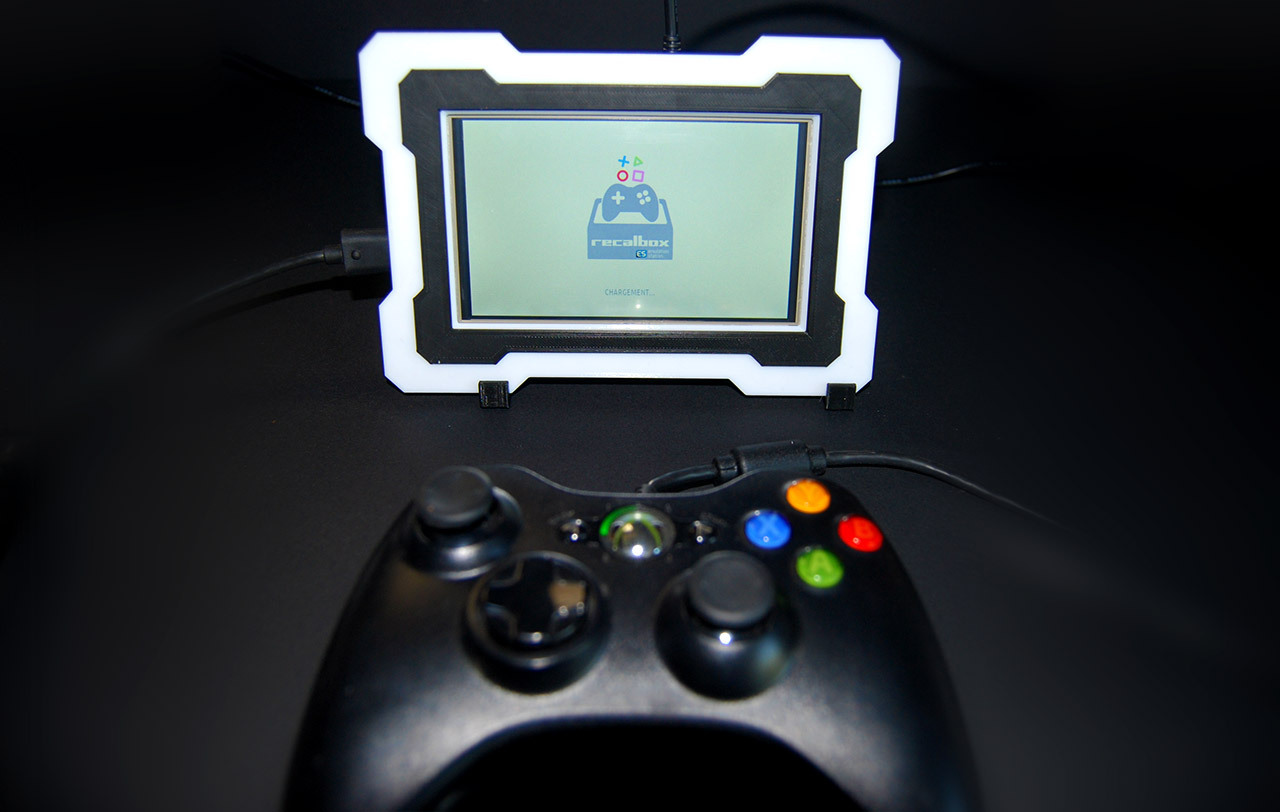
CONCLUSION_
This is a fast and effective build, if your desk is like mine, with tons of stuff on it. I did not configured the touch screen because I’m using it as a retrogame station under Recalbox. But you’ll find a lot of video on how to configure it on the internets.
Hope this B_log was usefull, I tell you :
